It’s finally time to add some colour to the costume. No more black and white foam!
Planning and Prep
I learned a lot while painting Zoe’s Wonder Woman costume. As with several elements of the costume, my initial plan for painting had a fatal flaw and required a rethink.
In this case, I had planned to use spray paint. I bought Krylon Colormaster which is a paint/primer mix in red and gold, plus a can of clear coat spray. Fortunately I sprayed a test piece before I started on the costume proper, because while the colour looked great and the finish was lovely it cracked like crazy when I flexed the foam. Oops!
It turns out that the kind of spray I’d bought is great for painting rigid props, but for flexible costumes it’s awful.
Since my spray paint was useless, I had to come up with something else. I turned to some of my favourite prop makers and found the following video from SKS Props that outlines some of the acrylic paints and techniques you can use to paint foam props: https://www.youtube.com/watch?v=PbmoS2MqXSU
Steve talks about how the heavy body paints he uses give better coverage than the cheaper paints from the same manufacturer. On my budget though I can’t justify spending that much on paint. This is doubly true for the Wonder Woman costume as Zoe will likely only wear it once or twice. She’ll definitely have grown out of it by the time Halloween rolls around again.
I went with the cheaper Liquitex Basics and crossed my fingers that they’d do the trick. At the very least I knew that the paint was suitable for the application and wouldn’t crack or peel when flexed once it was dry.
Painting
My painting process for this costume was straightforward but had several steps. Fortunately it remained the same for all the pieces:
- Two coats of black mixed with a moderate amount of water, applied with a mop brush for speed.
- Two or three coats of the primary colour with no or very little water until I was happy with the coverage: Red for the armour, silver for the bracers, gold for the trim and tiara.
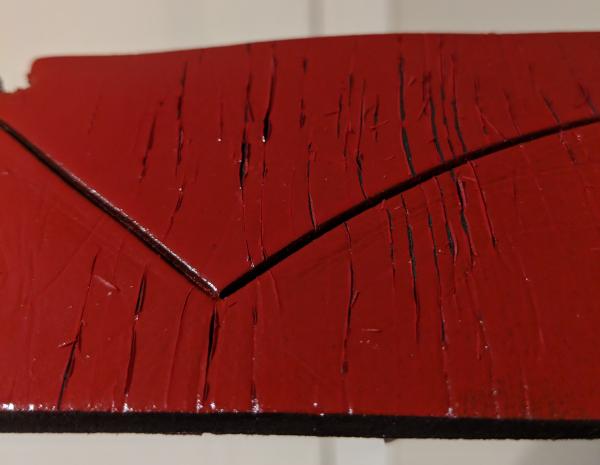
- A single light layer of spray clear coat to protect the colour from the wash in the next step.
- A black wash (black paint with lots of water) followed by immediately wiping the surface down with a paper towel leaving black only in the recesses and joins.
- Another light layer of spray clear coat to give the piece some extra durability.
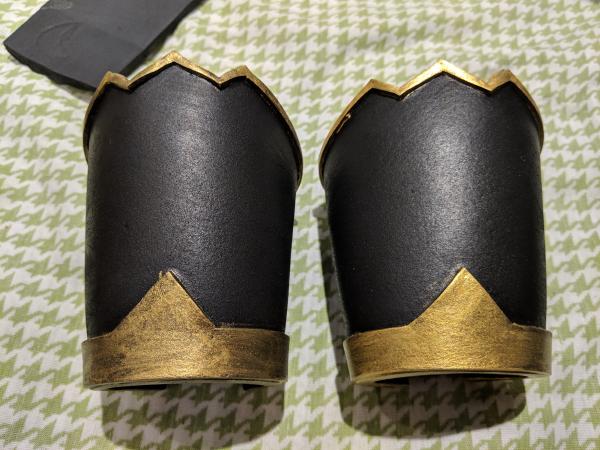
Above are the bracers comparing one coat of gold on the left vs two on the right.
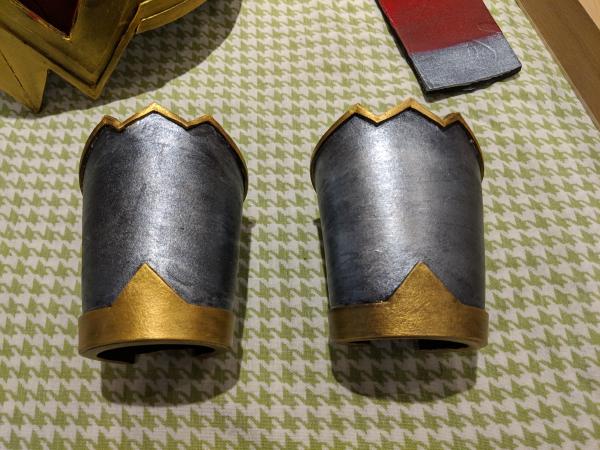
The bracers again, this time comparing one coat of silver on the left vs two on the right.
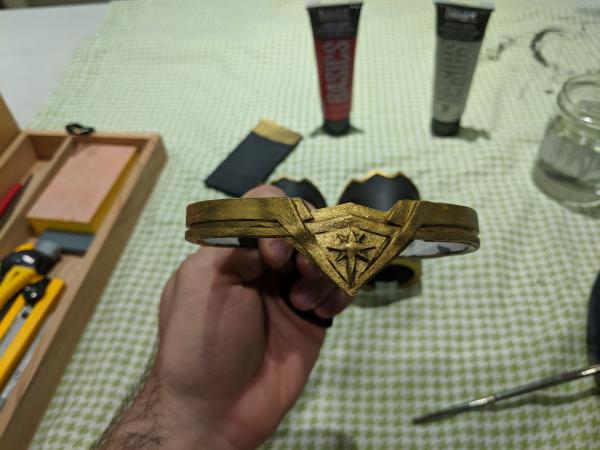
The tiara with both gold coats.
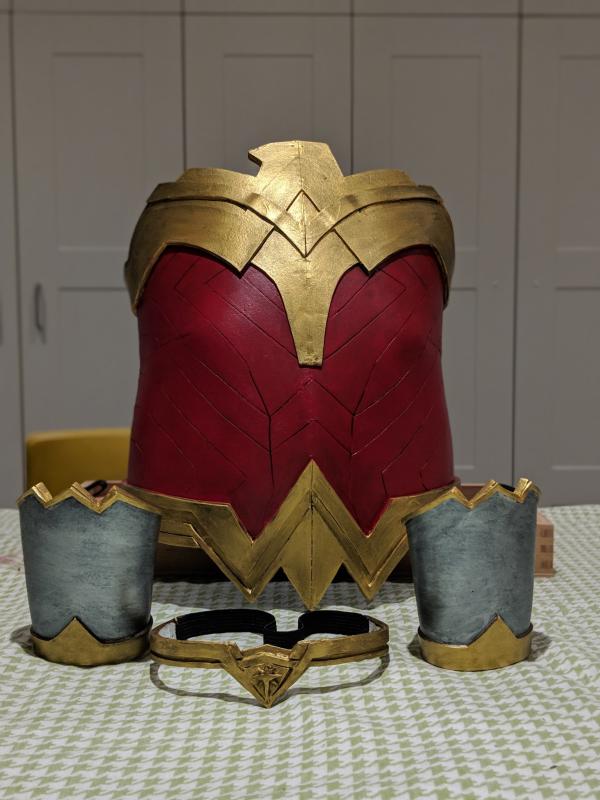
All the pieces painted with their primary colours.
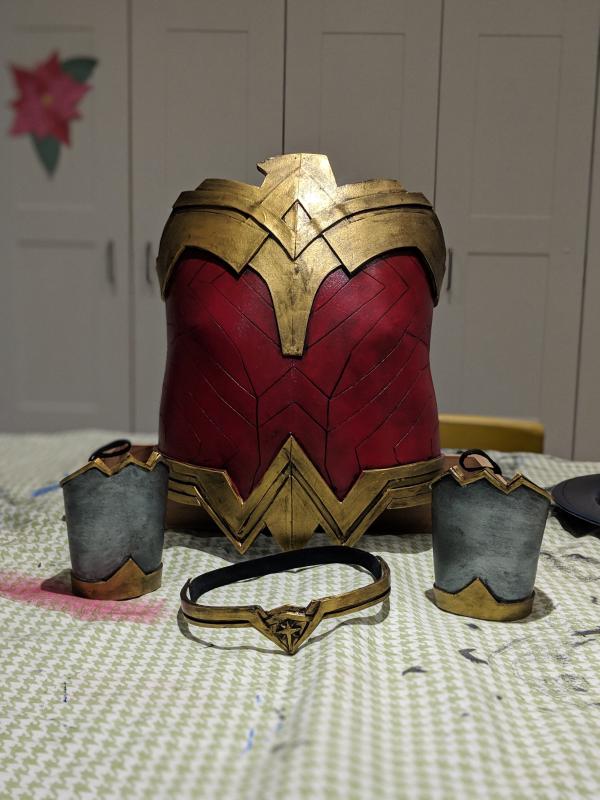
The final paint job, with the top clear coat applied.
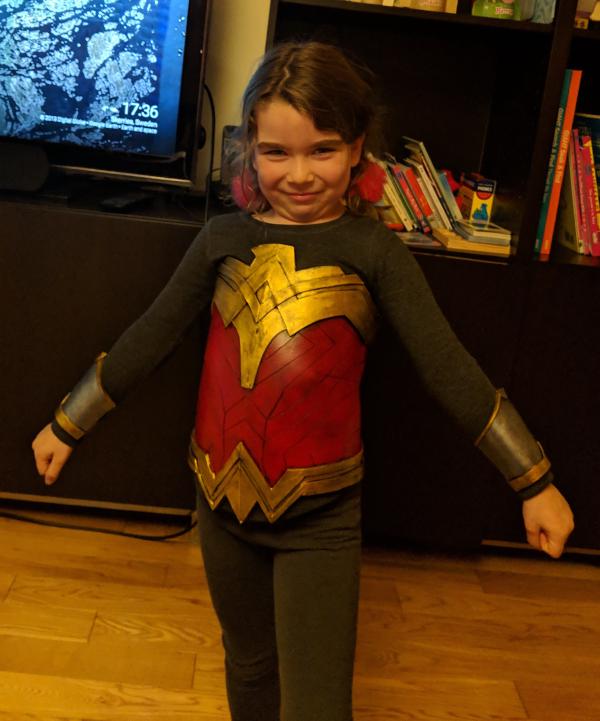
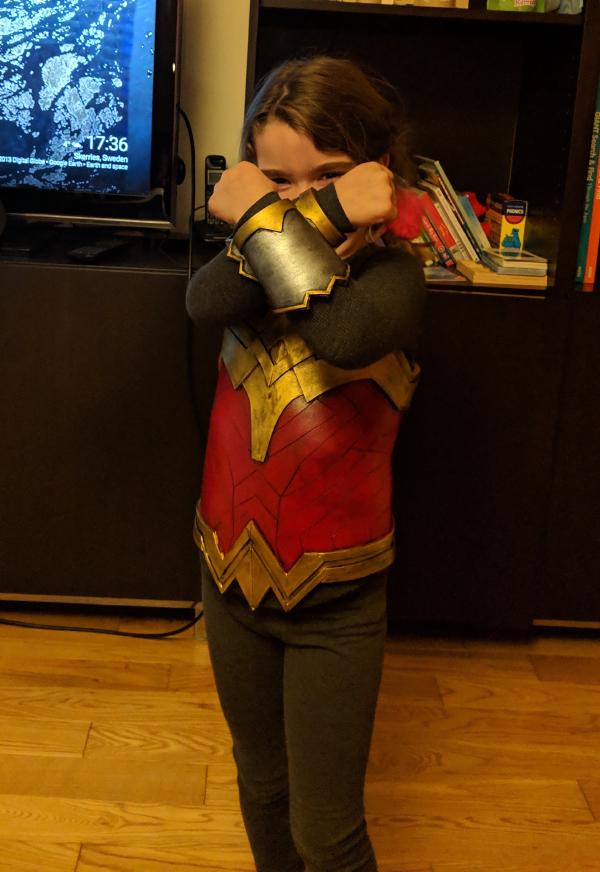
Photoshoot!
At this point I was happy that even if I didn’t finish any more pieces, the costume was complete enough to wear on Halloween. We did a test fitting of the armour and bracers and you can see the results below. Note that she’s wearing long sleeves because it starts to get down to freezing in the tail end of October around here, so on Halloween itself she’ll need to cover up!