Before getting really stuck into the armour for my daughter’s Wonder Woman costume, I decided to cut my teeth on something a little more straightforward. The smallest piece is the tiara, so I went with that.
Pattern and Materials
For the tiara went with 2mm EVA foam and a pattern I liked from Evan And Katelyn. They made their tiara out of worbla but the pattern worked well enough with foam.
The pattern is sized for an adult so before printing it I scaled it down to fit Zoe’s head.
Assembly
I printed off the pattern and cut all the pieces out with a sharp knife. From there I pinned each piece (some of which were tiny!) to the EVA foam and cut everything out again, using the same sharp knife.
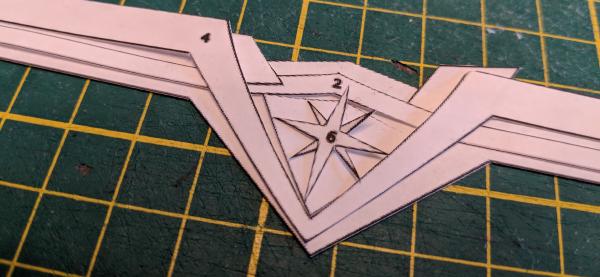
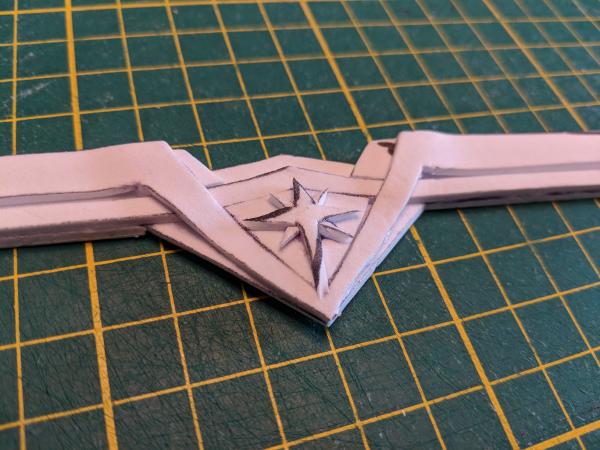
Once everything was cut out and I was sure it would fit together well I stuck the pieces together with superglue. If the pieces were larger I would probably have used contact cement but since everything was so small I used superglue so I didn’t have to worry about glue going where it wasn’t supposed to or having to wait between applying it and sticking it.
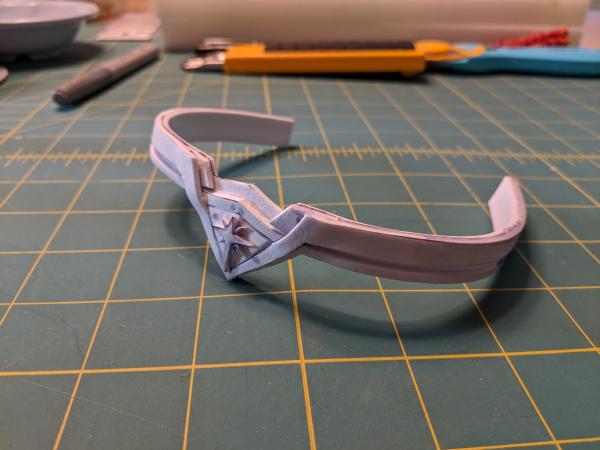
The final thing I did was to heat-form the foam a little to make the tiara more headband-shaped. This process also seals the foam so that it takes paint better.
Next steps
That’s all the progress for now! Once the other pieces of the costume are finished I’ll paint this and add some elastic to it so that it can actually be worn.