It’s time to take the plunge and start on the biggest, most complicated piece of this costume: The armour.
Recap
My daughter Zoe told me she wants to be Wonder Woman for Halloween this year. so far I’ve made the tiara. Next up is the armour.
Patterning
Because the armour is form-fitting, I needed to spend a lot of time making a pattern based on her torso. There’s no way she’d want to stand still for that long, and I wouldn’t want to make her do so. To avoid that, We made a duct tape dummy that I could use.
Making a duct tape dummy is a quick and cheap alternative to a dress form that gives you a body reference for your costume without spending hundreds of dollars. I watched the following video from Punished Props to get an idea for the process: https://www.youtube.com/watch?v=V24k-xhuFMI
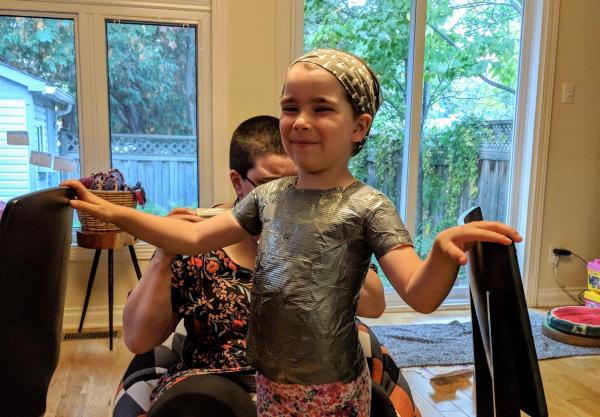
With help from my wife I taped Zoe’s torso over an old t-shirt, then cut her out of it. I taped over the neck and arm holes, stuffed the dummy with newspaper, then taped the bottom shut to create what is lovingly referred to as my ‘surrogate daughter’.
Now that I had a form that wouldn’t complain about having to stand still for hours on end, I started patterning.
Because the armour is symmetrical I only needed to make templates from one half of the dummy, then flip them over to make the other side.
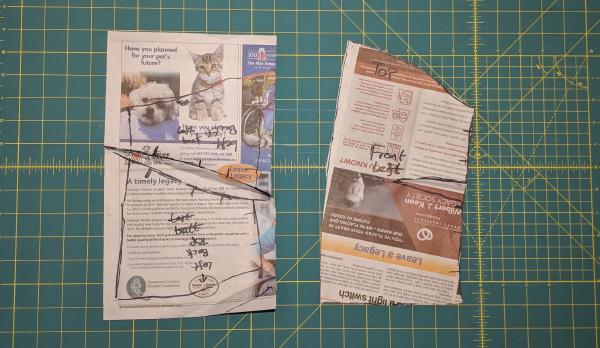
To make the pattern I pinned sheets of newspaper around the left side of the dummy, folding and then cutting each piece until I was happy with the shapes.
Once this was done I took an overhead picture of the newspaper pieces and drew over them in Inkscape to produce cleaner patterns that could potentially be reused. With hindsight this step was unnecessary since I’m not making copies of this costume. In fact, the photo warped the dimensions of the pattern pieces a little and the ‘cleaned up’ pieces that I printed didn’t match the originals as well as I wanted. This gave me some trouble during assembly later on.
Assembly
With the paper patterns completed I cut the shapes out of 5mm EVA foam. If this had been for an adult costume I would probably have used 10 or 12mm foam, but since Zoe is so small foam that thick has a hard time bending to the degree required to fit. The thinner foam is plenty sturdy enough and has a lot more flex to it.
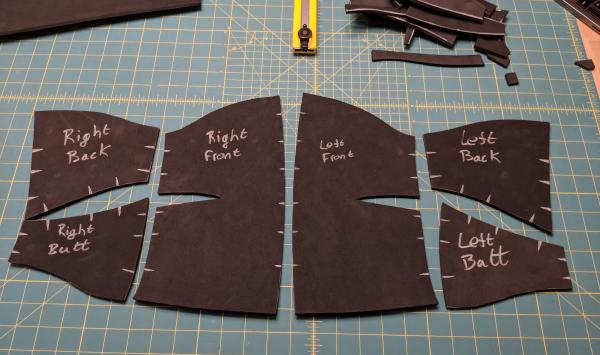
One key detail that you can see in the image above is the addition of registration marks to the pattern. These help no end when gluing the armour together as you can make sure that they match up as you stick two edges together. I found them indispensable on this piece with all its curves.
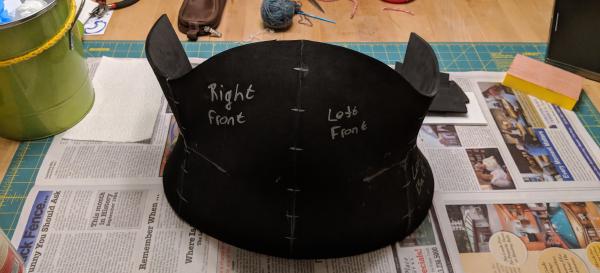
Once the pieces were all cut out it was time for gluing! Here I used contact cement for a couple of reasons. First it sticks instantly (once it’s been left to dry for 5-10 minutes) and secondly once it’s stuck it stays stuck forever. The foam naturally wants to lay flat so curved seams want to pull themselves apart. A strong adhesive is essential and contact cement fits the bill nicely.
Next Steps
That’s the base of the armour completed! I test-fitted it on both the dummy and Zoe to make sure that I’d made everything correctly and I’m very happy with it.
Next I’m going to add the detail to the armour. That will involve using thinner foam for the top and bottom trim, as well as a bit of carving into the base to make the surface detail.