I have just enough time to make one more element for the costume before Halloween: The skirt.
I chose to make the skirt over the sword or shield for a couple of reasons. First it was a very simple pattern and I knew I could pattern it quickly. Second, there was the practical consideration that Zoe would be dressed up while walking around the neighbourhood trick or treating. She would be carrying a bag of candy and would quickly get tired of holding the extra props as well.
With that decided, I cut out a quick template from newspaper and held it up against the armour to figure out size and placement. The costume in the movie has horizontal strips of leather that cover the hips, but I skipped that and went with four identical diamond-ish shaped pieces. I cut them out of 2mm foam and tested the fit by taping them to the inside edge of the armour.
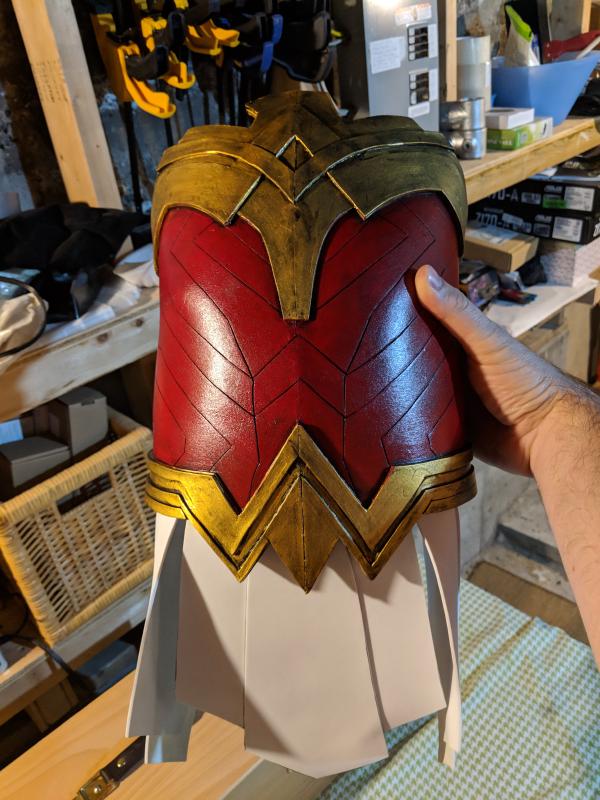
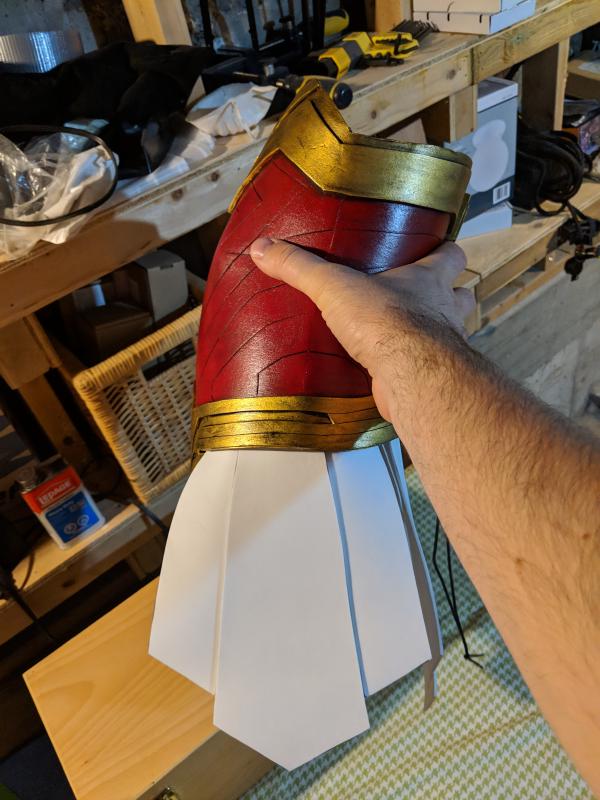
I was lucky and the four shapes fitted nicely around the whole circumference without too much of a gap between them.
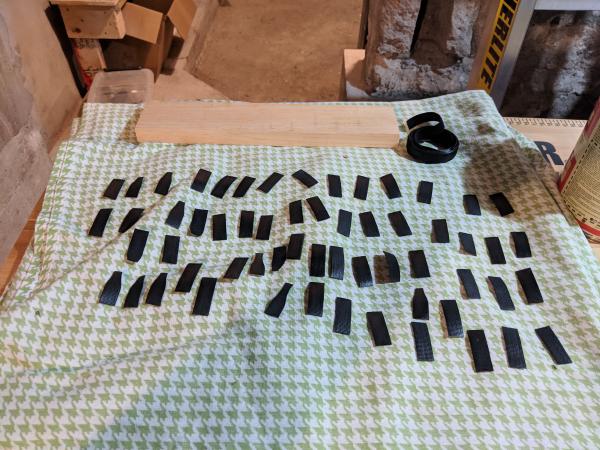
I realized it wouldn’t be possible to sit down with the skirt attached without damaging the costume, so instead of gluing the pieces straight to the armour I decided to attach velcro so that they could be removed. Unfortunately it was so close to Halloween at that point that I didn’t have time to shop for the wide velcro straps I wanted. All I had were velcro cable ties.
Since the armour is curved along the bottom I couldn’t simply run the thin strips length-wise so instead I cut several strips into small sections 25mm or so in length then glued them upright inside the armour to give me the surface area I wanted. I needed a lot of these little strips and applying contact cement to them was a real pain. I’ll definitely pick up some wider velcro before I do something like this again.
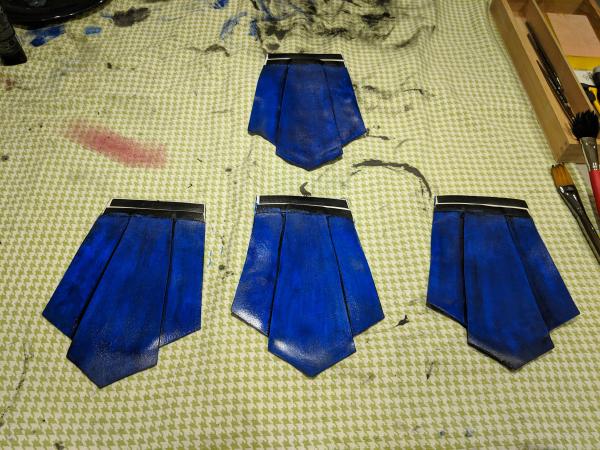
I glued these down with the soft side facing out so that they wouldn’t be uncomfortable if the armour was worn without the skirt. I then glued more velcro with the rough side facing out to the front of the skirt pieces.
Once all the glue was dry I had a single evening to paint. I used the same process outlined in my previous post about painting the rest of the costume but to speed things up I used a hair dryer to dry the paint between layers. This worked very well and I might start to do it to save time whenever I’m painting. It took about 30 seconds to dry each piece which beats waiting 10-20 minutes between layers.
I left the final clear coat to dry overnight, and then the costume was finished!