Now that the base of the armour is assembled, it’s time to add detail. This includes the trim and surface detail.
Recap
I’m making a Wonder Woman costume for my daughter. So far I have the tiara and basic armour shape assembled. Right now it’s a plain black shape, so let’s add some detail!
Patterning
Wonder Woman’s armour has gold trim with an eagle motif and several overlapping layers at the top, and a similar pattern along the bottom. It also has surface detail that hints at the armour being made of several pieces joined together.
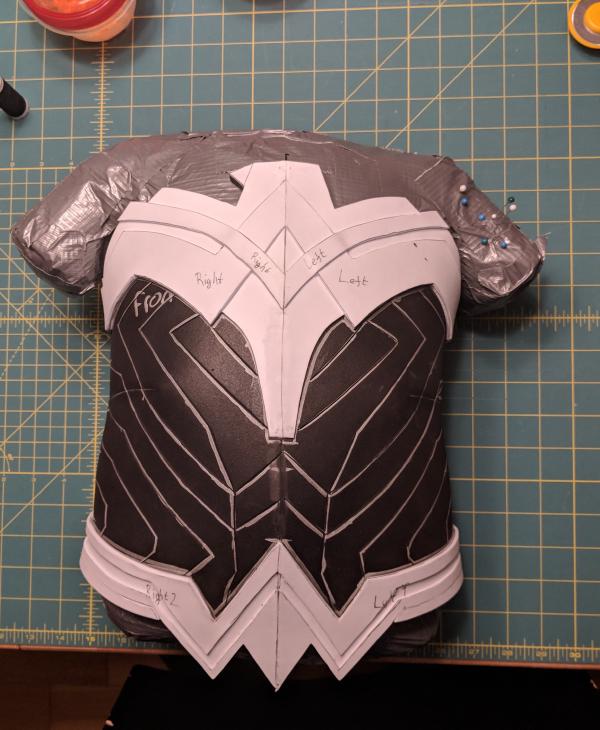
With the base layer pinned to the dummy I used newspaper to lay out the overall shape I needed for the trim. I did this on one half only because the design is nearly symmetrical, with the exception of the eagle’s beak.
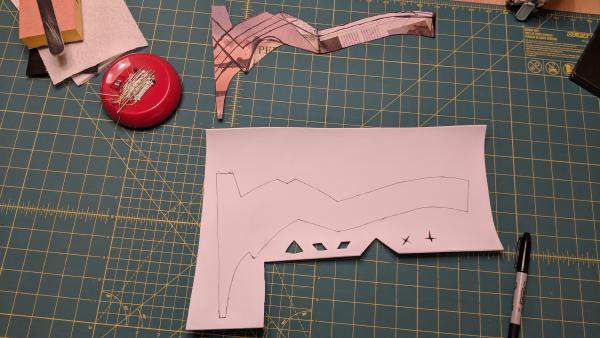
With the basic outline drawn I took the template off the dummy and drew in the layered pieces. Transferring these to the foam proved a little tricky for the top trim since I ended up cutting my original template apart to accurately trace the other layers. In future with pieces like this I’ll likely trace the original template onto another sheet of newspaper and then cut that apart so that I have copies of everything should I need to remake them for some reason.
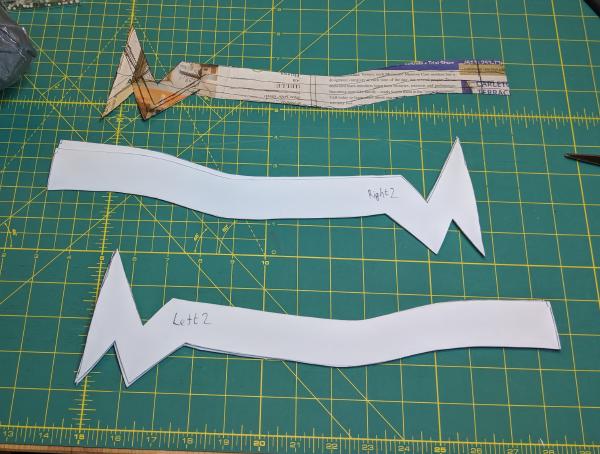
For the bottom trim I cut out two copies of each basic shape because the top layer is made up of several pieces that fit snugly together. If I’d been using thicker foam then I’d have scored the details in but 2mm foam is so thin that you may as well cut it apart and reassemble it for gluing.
For the surface detail of the armour I wanted to score the base layer directly as it was made from the thicker 5mm foam. Knowing this I pulled a new template from it that only covered the section that would be visible between the trim. I drew the surface detail onto the template and then cut it along those lines so that I had separate pieces for each detail.
Assembly
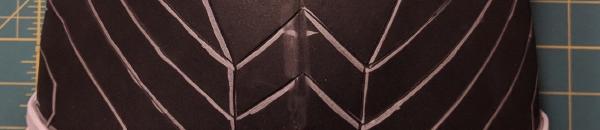
First I added the surface detail to the base armour. I pinned the pieces of the template to the armour one-by-one, marking the line that separated them with permanent marker before adding the next. In this way I built up accurate detail across the whole costume.
Once this was done I scored along the lines with a small sharp blade being careful not to cut too deep. Where the surface detail met the trim I made sure to keep cutting a little over the line so that the scored line wouldn’t end early once the trim was attached.
To bring out the detail I did a pass with the heat gun. This causes the top layer of foam to shrink a little which opens up the scored lines making them more prominent. They’ll also catch a lot more paint when weathering the costume later.
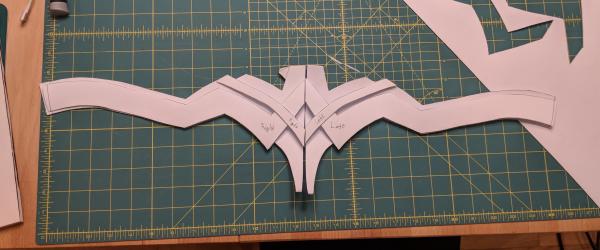
I cut all the trim the pieces out of 2mm foam using a sharp knife. I used superglue to attach the layers to the base piece. Contact cement would have worked too but since these joins weren’t structural that seemed like overkill. Note that on the upper trim the second layer crosses the first, which led to some small gaps where the two met. I’m undecided whether I like the effect this gives.
Once both sides of the trim was assembled I glued them to the base using contact cement. I made sure to spread glue along the two edges that would be touching down the front of the costume so that they would stick together and not leave a gap once dry.
At the back I had a small problem. For whatever reason my trim pieces didn’t quite reach the edge of the base foam, leaving a trim-free gap. The lesson learned here was to add a couple of centimetres of extra material to long detail pieces. These can be trimmed to the correct length after gluing.
The final step was to cut out the sections of the base that now sat above the upper trim either side of the eagle’s head. I also reinforced the bottom of the lower trim where it stuck out below the bottom of the base layer.
Next Steps
The armour is nearly ready for painting now! I need to clean up some rough edges and most importantly sort out how it is going to close at the back. That will be covered in a future post!