The armour and the tiara are both fully assembled. The next pieces I’m going to tackle are the bracers.
Recap
I have a tiara and the armour for my daughter Zoe’s Wonder Woman costume assembled. The bare minimum costume is these two pieces plus bracers. I may or may not make extra pieces, but if these are the only ones I have time for then I’ll be happy.
Patterning
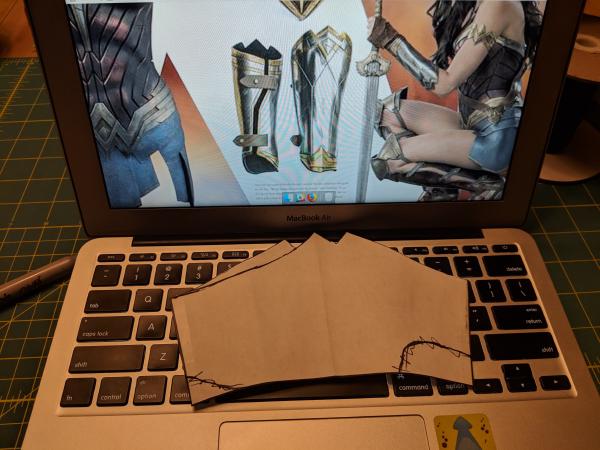
Rather than make a replica of Zoe’s forearms, I measured around her wrist and just below her elbow, as well as the distance along her arm that the bracer would cover.
I plugged these numbers into an online calculator for making templates of cone segments. I built a basic template in Inkscape using the results from the calculator, and conveniently the shapes were small enough that I could fit two on a page.
I printed out a pair just in case I needed an extra one. Using a reference image, I then drew a new outline onto the printed template. On the second template I drew the trim pieces and cut them out.
Assembly
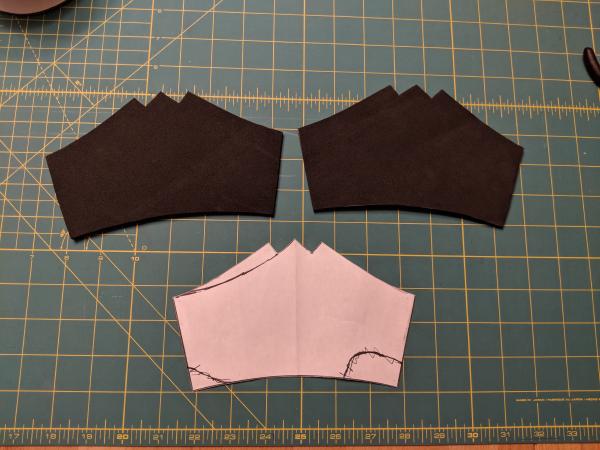
I traced the basic bracer shape onto 5mm foam, and the trim onto 2mm foam. I cut it all out with a sharp knife and glued the trim on with superglue the same way I did with the armour.
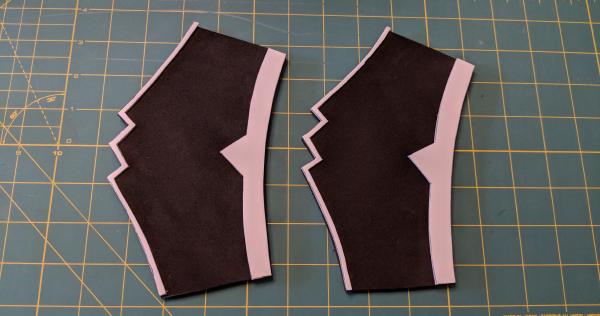
However, I did this when the foam was still flat. This meant that when I heat-formed it into shape, the thin trim (on the left in the picture below) warped a bit. It wasn’t a disaster, but I would definitely apply similar elements after the base piece is formed in future.
Next Steps
Before fabricating any more pieces, I’m going to completely finish the ones that I have. This means figuring out and adding straps so that they can be worn and then finally painting everything.